Friday, July 24, 2015

I'm back with a big freebie!!

Hi!!
I'm so so so sorry I haven't posted in a while! What a month!! When it rains it pours, huh!! My poor daughter got an infection on her leg, not serious but scary! Then, of course I got sick, UGH!! Enough bad news though!! I plan on having another Photoshop tutorial for you very soon and more freebies!! Until I can type that out I figured I share an old kit I made for a Designer Challenge "In the Kitchen" over at Pixel Scrapper. It's a whole bunch of Kitchen goodies!! Hope you enjoy!! Download link after each image!!

 Hope you enjoy these freebies and put a link in the comments if you use anything to make a layout, I'd love to see what you make!!
TTFN,
Mel

Friday, July 10, 2015

Photoshop Tutorial and Freebie!!

Hello!!

Sorry, it's been longer then I had anticipated for a new post. I'm trying to find a new apartment, not fun!!! So, today I thought I'd share a tutorial for a new Photoshop technique I just learned. In my last post I shared a layout template with hanging clouds that had a stitched border. I was surprised at how easy it was to make the border. Since I was excited to learn something new I wanted to let everyone know how they can apply this to their own layouts. This is my first tutorial so I hope it's clear enough to follow. Here goes:


Your going to need some sort of stitching brush for this.  I used Sheila Reid's Stitching Brushes at Pixel Scrapper to do this. There is a free Stitch brushes set at Brusheezy if you want to use that, that work pretty well. I know there is a way to do it with the basic PS brushes but I can't figure that out. So if you are using the brushes make sure those are loaded before you start.
1. Open the object you want to make the stitched border inside. 
2. Make a new layer above that.
3. Hold ctrl button and click the thumbnail of your object so it makes the marching ants around it.
4. Next click select --> modify --> contract, the higher the number you put in the farther the line will go inside the object, I used 20.
5.  Making sure the layer is selected, look next to the layer panel tab there's a tab that's called paths(image below), click that.

6. At the bottom of that panel there is a circle with dots on it(image below). This makes a work path from your selection(basically makes the marching ants into a line). Click that.

7. Then click on your brush tool and select one of the straight stitch brushes. The size you make it is how big each stitch will be. In the brush presets click on the word shape dynamics(make sure you don't uncheck it by accident). Most of the settings are fine my setting are in the images below.


8. Then click the pen tool and right click on one of the points of the path you just made. In the fly out box click stroke path -->brush.  Make sure "simulate pressure" is not checked. click ok.

Then right click on a point on your path again and choose delete path.
Now you should have a stitched line border inside your object.
I hope you could follow this, I promise it's so easy once you do it once. Let me know if you have any questions.

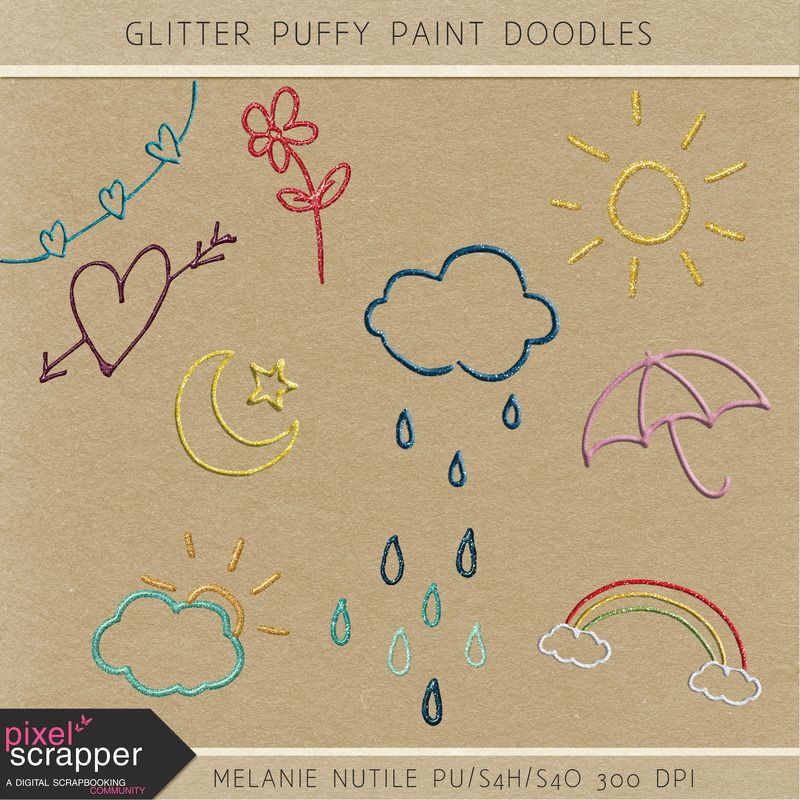
Of course I have a small freebie for you all as well. I made these for a Pixel Scrapper "designer challenge". These are really fun challenges if your just starting to design digital scrapbook elements and papers. These are Glitter Puffy Paint Doodles. I hope you enjoy!!!

Friday, July 3, 2015

Creative Team Layouts and a Free Layout Template

Hi!

 I'm back again to share with you some digital scrapbook layouts I've made for the creative teams I'm on. I will also be sharing a layout template I made. It's a Photoshop (PSD) file, so if anyone needs a different file type let me know in the comments.

These layouts I made for Northern Whimsy Design. I love how colorful and bright these kits are.
 
These next layouts I made for Inside Pixels. These kits have so many cute patterned papers!
Whimsy Papers and Whimsy Embellishments by Inside Pixels


These last layouts are some of my favorite I made for Pixel Scrapper. I really love the different styles they have in their kits.


Great stuff, huh?! I hope you like these and got a little inspired because now I'm sharing a free layout template with you. Now you can use this to go make something beautiful!!


That's it for today!! Hope you enjoy the template!
TTFN!

Melanie


Wednesday, July 1, 2015

My First Post and a Freebie

Hi!
I'm Melanie, married mom of two girls from right outside of Boston, MA. I am completely obsessed with digital scrapping and digital design. I really wanted to start a blog to share my adventures in this fun, but sometimes frustrating, world. I say frustrating because when I first started I would see so many beautiful layouts and I had no clue how to do it. At the time I had a free trial of Photoshop CC and every time I opened it I was so overwhelmed. I'm hoping that this blog will help make that easier for people just starting out and maybe help more experienced scrappers learn a few more tricks. I have learned so much in the last year and want to share my love of this craft with everyone. I'm on a few creative teams now and LOVE it. You learn so much from your fellow creative team members and the designer you are creating for. I highly recommend to anyone thinking about joining a CT to take the leap, you will not regret it. First, I want to give you all the links for the sites I create for, I wouldn't have come so far in digital scrapping if it weren't for these creative teams and designers. After that, I will be sharing a free mini-kit designed by me!!
  
Pixel Scrapper is an amazing community! You start with a few download credits for free daily or you can subscribe for a small monthly fee and get unlimited downloads. This site has SO much stuff, so it wasn't long after I registered there that I started a subscription. They also have some great tutorials so if your looking to learn more skills, this is a great place to check out.  

Inside Pixels is a shop and they also have a blog. It has some really cute kits. Their kits have great patterned papers, so if you love those, this shop is a must for you to check out. They have a few freebies in their shop here, so you can go grab those.

Northern Whimsy Designs is another shop I create for. This shop has a ton of stuff and also has  many packs of cute patterned paper. You can join their newsletter for monthly freebies and who doesn't love freebies! Sign up here and get a thank you digital scrapbook freebie right away! 

I hope everyone can go check out those sites, they all have something great to offer people with different scrapping styles. So, now for the freebie I promised.... 

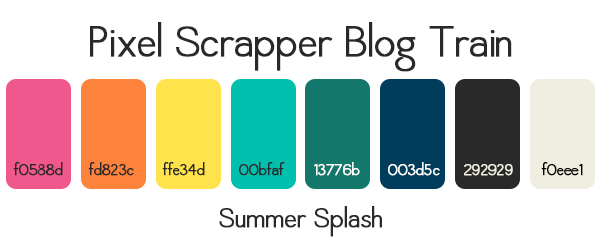
Pixel Scrapper has a monthly blog train and every month everyone in the community gets to vote on which theme and color palette they want to do. The month of July was "Summer Splash!"  I really loved this color palette.
Great, huh?! So, I ended up making a mini-kit to contribute and since I have been wanting to start this blog for the longest time, I figured I would offer this freebie with my first post. So, without further ado here it is, download link is below the preview.

I hope everyone can use this for something. I ended up really loving how the papers came out. If you end up using this for a layout or anything else, please comment with a link to what you made, I would LOVE to see how you used it. Also, you can check out the rest of the blog train contributions here. You will have to register for a free account at Pixel Scrapper first, but it's worth the time. Pixel Scrapper blog trains are a great way to start building a collection of digital scrapbook elements and papers if your just getting started. If you have been scrapping for a while, then I don't need to tell you, you can never have too much scrapping stuff!

That's all for now! Sorry this post was so long but I really wanted to get a strong start with this blog. I'm hoping to have a new posts with some more great stuff for you all at least once a week, maybe more. Check back in a few days, I will be sharing a layout template in my next post!!

TTFN!!

Melanie