Hello!!
Sorry, it's been longer then I had anticipated for a new post. I'm trying to find a new apartment, not fun!!! So, today I thought I'd share a tutorial for a new Photoshop technique I just learned. In my last post I shared a layout template with hanging clouds that had a stitched border. I was surprised at how easy it was to make the border. Since I was excited to learn something new I wanted to let everyone know how they can apply this to their own layouts. This is my first tutorial so I hope it's clear enough to follow. Here goes:Your going to need some sort of stitching brush for this. I used Sheila Reid's Stitching Brushes at Pixel Scrapper to do this. There is a free Stitch brushes set at Brusheezy if you want to use that, that work pretty well. I know there is a way to do it with the basic PS brushes but I can't figure that out. So if you are using the brushes make sure those are loaded before you start.
1. Open the object you want to make the stitched border inside.
2. Make a new layer above that.
3. Hold ctrl button and click the thumbnail of your object so it makes the marching ants around it.
4. Next click select --> modify --> contract, the higher the number you put in the farther the line will go inside the object, I used 20.
5. Making sure the layer is selected, look next to the layer panel tab there's a tab that's called paths(image below), click that.

6. At the bottom of that panel there is a circle with dots on it(image below). This makes a work path from your selection(basically makes the marching ants into a line). Click that.

7. Then click on your brush tool and select one of the straight stitch brushes. The size you make it is how big each stitch will be. In the brush presets click on the word shape dynamics(make sure you don't uncheck it by accident). Most of the settings are fine my setting are in the images below.


8. Then click the pen tool and right click on one of the points of the path you just made. In the fly out box click stroke path -->brush. Make sure "simulate pressure" is not checked. click ok.

Then right click on a point on your path again and choose delete path.
Now you should have a stitched line border inside your object.
I hope you could follow this, I promise it's so easy once you do it once. Let me know if you have any questions.
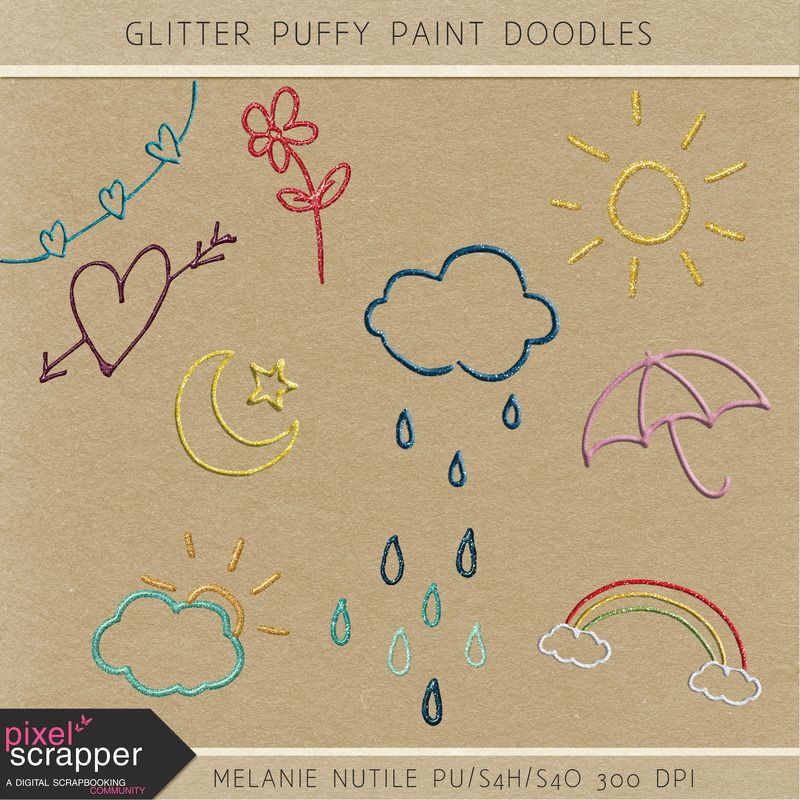
Of course I have a small freebie for you all as well. I made these for a Pixel Scrapper "designer challenge". These are really fun challenges if your just starting to design digital scrapbook elements and papers. These are Glitter Puffy Paint Doodles. I hope you enjoy!!!
These are really cute! Thank you
ReplyDelete